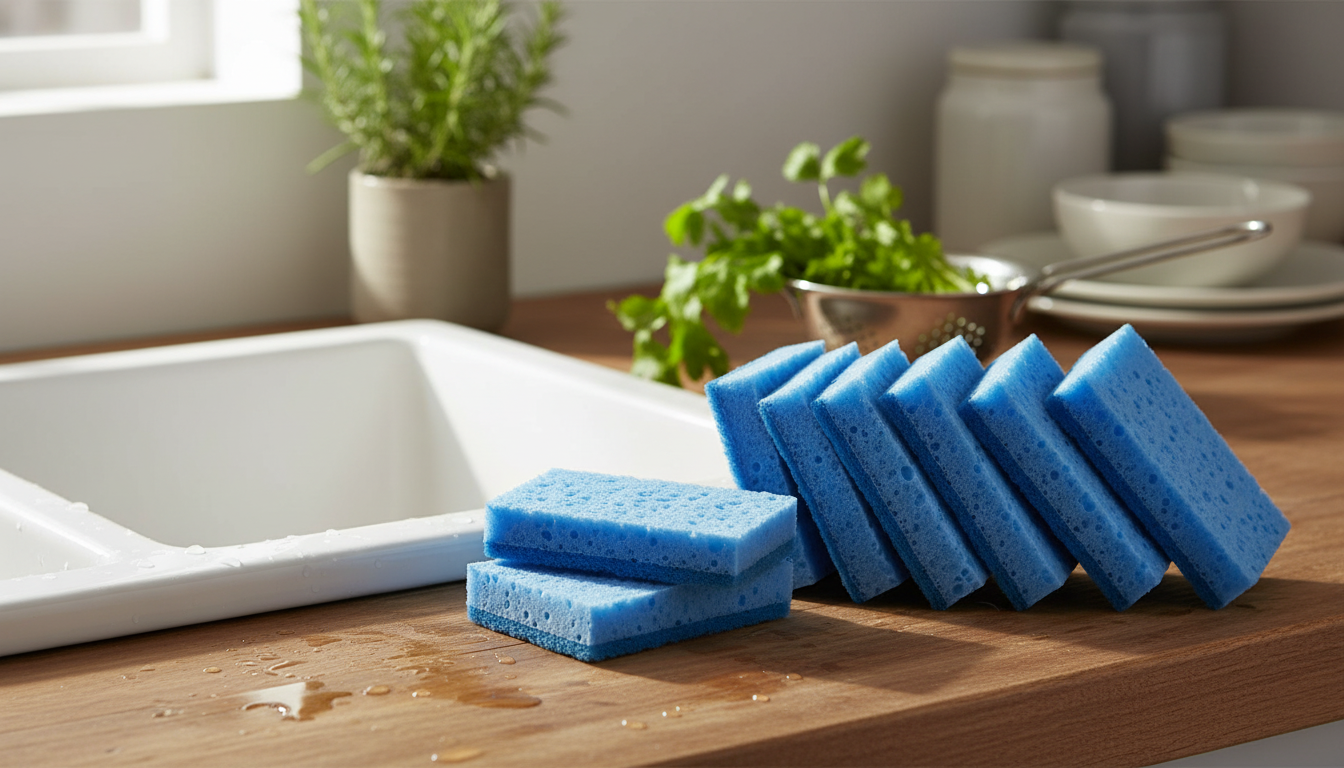
12-Pack Natural Kitchen Sponges: Durable, Quick-Drying, Dual-Sided Cleaning Pads
A dependable sponge should scrub stuck-on messes, wipe smoothly, rinse clean, and dry fast between uses. This 12-pack of natural-style, dual-sided kitchen sponges is designed for everyday dishes, counters, and cookware with a simple two-surface approach—one side for gentle wiping and one side for tougher cleaning—plus quick-drying behavior that helps keep the sink area feeling fresher.
What makes these dual-sided sponges practical for everyday cleanup
Kitchen cleanup rarely comes in neat categories. One minute it’s a quick wipe of a coffee spill, the next it’s a baked-on spot in a pan. A dual-sided sponge helps cover both jobs without switching tools, keeping your routine fast and consistent.
- Two working surfaces support both light wiping and more stubborn residue, so you can move from glassware to cookware without starting over.
- Quick-drying performance helps reduce that damp, “musty sponge” feeling between uses—especially when you wring it well and store it with airflow.
- Durable construction stands up to repeated rinsing and squeezing through regular dish cycles.
- A 12-pack makes it easier to rotate sponges by task (dishes vs. sink vs. counters) and replace them on schedule.
Where they work best around the kitchen
These dual-sided cleaning pads are a natural fit for the everyday “touch points” that make a kitchen feel clean: dishes, counters, and the sink zone. Start with the gentler side when possible, then step up to the scrub side when residue won’t release.
- Dishes and glassware: use the softer side for routine washing and the scrub side for food residue.
- Cookware: tackle stuck-on bits on pots and pans; for delicate surfaces, test a small area first.
- Counters and backsplashes: quick wipe-downs with a soapy squeeze; rinse and wring thoroughly after.
- Sink and faucet areas: scrub around rims and drain zones, then disinfect/clean the sponge afterward.
Common tasks and the best side to start with
| Task |
Start with |
Tip |
| Everyday dishes |
Soft/wipe side |
Add a small amount of dish soap; rinse frequently to release food particles |
| Stuck-on residue |
Scrub side |
Let cookware soak first to reduce effort and protect surfaces |
| Counter wipe-down |
Soft/wipe side |
Finish with a clean-water rinse and wring to help the sponge dry faster |
| Sink cleanup |
Scrub side |
Use a separate sponge or rotate sponges to keep dishwashing more sanitary |
Keeping sponges fresher: rotation, rinsing, and drying habits
Most “gross sponge” problems come down to moisture and leftover particles. A few small habits can make a noticeable difference in how long a sponge feels usable and how pleasant your sink area feels day to day.
- Rinse thoroughly after each use until water runs clear, then wring out as much moisture as possible.
- Store for airflow using a holder that keeps the sponge upright or elevated (instead of sitting in the bottom of the sink).
- Rotate by task—for example, one sponge for dishes and another for sink/counters—to limit cross-contamination.
- Replace proactively or sooner if odor, fraying, or persistent staining appears.
For broader kitchen cleanliness guidance—especially around separating cleaning steps and reducing risk—helpful references include the USDA FSIS kitchen cleanliness page and the CDC food safety basics.
Care and sanitation options (what to do and what to avoid)
Sanitizing routines vary by household, but the safest approach is the simplest: clean well, dry well, and replace when it’s time. If you use heat or chemicals, always check any manufacturer guidance on the product page first.
- Follow product guidance before using heat or strong cleaners.
- If microwaving is attempted, the sponge must be wet and handled carefully to avoid burns; discontinue if the sponge degrades or smells scorched.
- Avoid cross-contamination: don’t use the same sponge for raw meat juices and ready-to-eat surfaces. Use paper towels or dedicated tools for higher-risk messes.
- Don’t overextend a sponge that has a persistent odor even after cleaning—replacement is usually the better call.
Value of a 12-pack: simpler routines and fewer last-minute replacements
A multi-pack makes it easier to build a routine instead of stretching one sponge past its prime. With 12 sponges on hand, you can rotate frequently and keep tasks separated without feeling like you’re “wasting” supplies.
- Planned rotation: use a newer sponge for dishes, move an older one to the sink, then retire it.
- Fewer urgent replacements: you’re less likely to run out when you need a fresh one.
- Great for busy weeks: hosting, meal-prep stretches, or shared kitchens can wear sponges out faster.
- Easy task separation: a simple label system (marker dot on an edge, or dedicated holder spots) helps keep dishwashing and sink cleaning separate.
Product details at a glance
Shop in-stock picks
FAQ
How often should kitchen sponges be replaced?
A practical range is about every 1–2 weeks for a main dish sponge, sooner if it starts to smell, fray, or stay discolored even after rinsing. Rotating sponges by task (dishes vs. sink/counters) can also help each one last longer while staying more sanitary.
Are dual-sided sponges safe for nonstick cookware?
They can be, but it’s best to start with the softer side and test a small area first. For stuck-on food, soak the pan to loosen residue and avoid aggressive scrubbing that could wear down delicate coatings.
What’s the best way to help a sponge dry quickly between uses?
Rinse until the water runs clear, wring it thoroughly, and store it where air can circulate (such as an upright holder). Avoid leaving it in a puddle or at the bottom of the sink, where it stays damp longer.
Recommended for you


Leave a comment